With the updated UI and features in the Travel Animator app, adding location names is now easier, more flexible, and visually refined. You can label each destination, customize its appearance, and turn your animation into a clear and engaging story.
When you create a travel animation, your audience doesn’t just want to see the route; they want to understand the journey. Without clear location names, even the most visually appealing animation can feel incomplete or confusing.
This guide explains how to add location names using the latest interface, along with best practices to make your videos look professional.
What Are Location Names in Travel Animator?
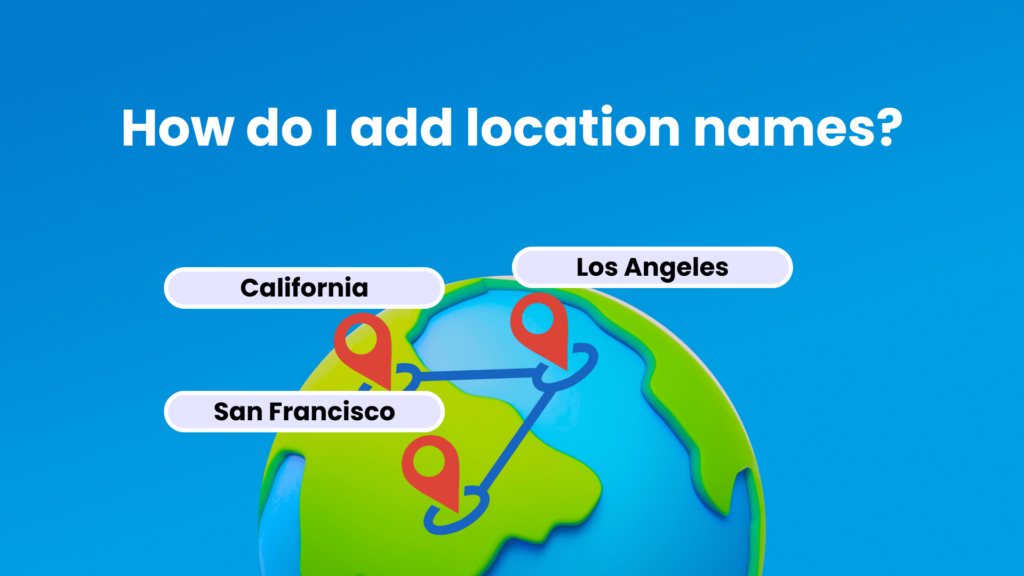
Location names are text labels that appear on each destination point in your animation. They help viewers identify places quickly and understand the flow of your journey. Instead of guessing where the route leads, your audience can clearly see starting points, intermediate stops and final destinations.
With the latest updates, these labels are no longer just simple text. You can now customize them with improved styling and positioning, and even combine them with images for a richer visual experience.
Why Do You Need to Add Location Names
- Adding destination names helps the audience to understand and follow the routes easily. It enables the audience to identify the places without confusion.
- It enhances storytelling by clearly showing where you’ve travelled, making the simple animation video more engaging.
- Adding a professional touch to travel animation videos makes the video more informative. Whether you are using Travel Animator for personal use or professional purposes, adding a location name enhances the overall quality of the video.
- It enhances engagement, especially on social media where clarity matters.
Step-by-Step: How to Add Location Names in Travel Animator
- Open the Travel Animator app and create a new project or open an existing route.
- Add your destinations manually or import a route using a GPX file or a Google map link.
- Tap or long-press on a destination point to open the editing options.
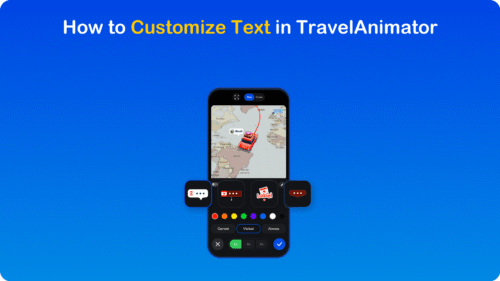
- From the options, select the Add Media and go to Text.
- Enter the name of the location you want to display.
- Customize the label by adjusting font, size, colour, and position.
- Optionally, add an image and elements alongside the text for better visual context.
- Repeat the process for each destination point if needed.
- Preview your animation to ensure all names appear clearly and correctly.
- After customization, export and directly share the travel animation video on social media.
Best Practices for Adding Location Names
Things to Consider
- Keep your text aligned with the destination point so viewers can easily identify the location.
- Use a consistent format for all labels (e.g., only city names or city + country).
- Preview your animation before exporting to ensure readability.
- Keep text short and clear for better visibility on mobile screens.
- If you are a travel agency, use labels to highlight key destinations or packages.
Things to Avoid
- Avoid placing labels too close together, as this makes them hard to read.
- Do not use excessively long text that clutters the screen.
- Avoid labelling every minor stop, focus on important locations.
- Ensure all location names are accurate to maintain credibility.
- Do not use colours that blend with the map background.
Creative Ways to Use Location Names in TravelAnimator
You can go beyond simple labelling and use location names creatively.
- Add “Day 1 – Paris” or “Stop 2 – Rome” for multi-day journeys.
- Combine location names with short notes like “Food Stop” or “Beach Day.”
- Use consistent naming styles for professional content.
- Highlight key destinations with slightly larger or styled text.
- Pair labels with images to create a richer visual story.
Make Your Travel Animations Clear and Engaging
Adding location names in the Travel Animator app is one of the simplest yet most powerful ways to improve your travel videos. It transforms your animation from a basic route into a clear, engaging, and professional story. With the updated UI and customization options, you now have full control over how your destinations appear. So the next time you create a travel animation, don’t just show where you went; make sure your audience understands it.
Start adding location names and turn your journey into a story worth watching. Explore every feature by downloading Travel Animator now from the App Store or the Play Store.